HomeHub, 1 – Overview

I’ve built a home automation system from scratch.
Featuring electronics, soldering, coding, Raspberry Pi, MQTT, UI design and more.
This is a series of posts explaining the Why, What and How with code details.
Why build a home automation system from scratch? #
There are many open source, off the shelf solutions out there, so why build one yourself?
I did it out of curiosity.
I had a 10" Samsung tablet lying around, and I was on a mission to find a problem for it.
In the meantime I felt an undying urge to invest in a Raspberry Pi. Wasn’t sure why, but it seemed like a cool gadget to play around with. So I convinced myself: it will be good for something. I justified it based on “educational purposes”. At the time the latest model was the 3B+, with no sign of the 4th generation. So after carefully considering the armada of different starter kits and offers I got a basic kit with charger, the Pi itself and the original red and white case and repurposed an SD card I had and got some extra heat sinks.
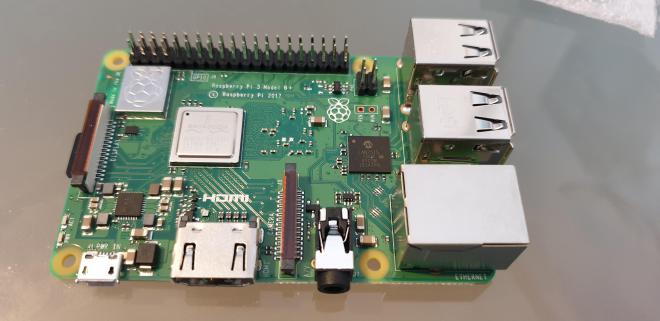
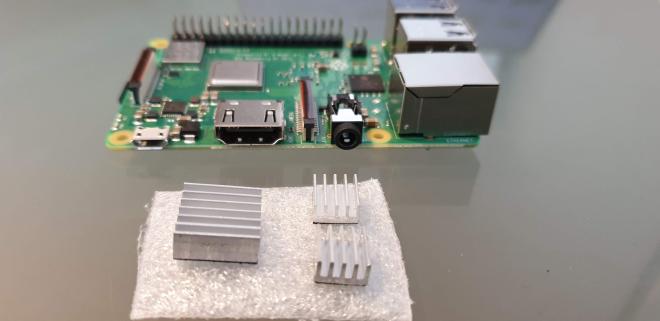

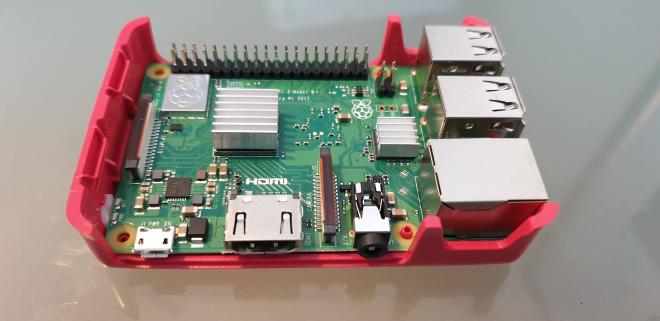
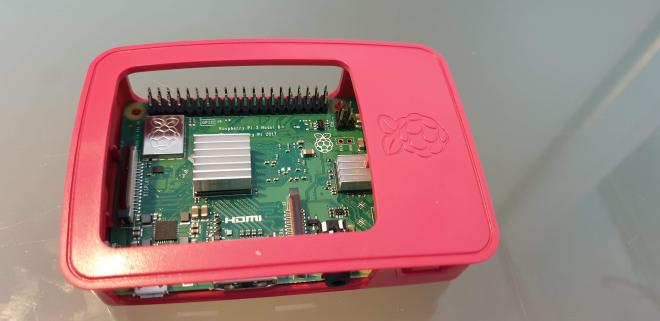
Great! Now I had it, what now? What to do, what to build? Started frantically digging around hackster and official Raspberry Pi taster page.
Found a couple of cool ideas, but I wanted to build something useful, that I would actually use in real life, at least this was the goal.
Hello World #
New project, new me. Why not pile “how to python” to the top of the to-do list. I was buzzing with excitement to learn a bunch of new things and to basically pick a bag of tools first and then find the problem to solve with them, just how an average destined-to-fail-from-the-start project should begin. But it promised great learning potential so why not, I thought.
Every single web related endeavour should start – for no particular reason than unquestionable tradition – with a slightly altered version of the hello world apps of web development: a to-do list page that displays information about the Pi, like CPU temperature and other useless metrics, for fun.
In a world of frameworks lets pick one:
Web + Python = Flask #
Flask docs were saying things like micro-framework, Jinja, WSGI all in the same sentence and I understood none of it. That’s how I knew I was on the right path.
Roughly followed the steps outlined here, I got something up and running fairly quickly.
$ flask run
  * Running on http://127.0.0.1:5000/
And on the screen it showed: 43.3º C, small win in the bag.
the What? #
Awesome, (..but), this has a fairly moderate usefulness, then I read something about How to Run Your ESP8266 for Years on a Battery.
My understanding around wifi microcontrollers was little, but I got it that these are tiny dev boards with wifi capabilities, running on low voltage and can drive small sensors for temperature, humidity, gyroscope, RF id stuff and can be operated from battery.
At this point I felt I’m going to build some home automation “thing”. Didn’t matter what will it be, as long as the possibility of controlling something remotely is shining over the project, I’m happy.
There was a good chance I wanted to venture to electronics land (in a basic level), just to justify the purchase of a soldering iron kit :).
Envisaged a UI for the “thing”. These were the things I imagined the system will do:
- Turn on some lights
- Process and display sensor data
- Give me some weather and
- Commute information.
That’s all you need on a Monday morning. This helps with the decision of hopping on the bike or go by public transport, and to turn off all the light by a touch of a button.
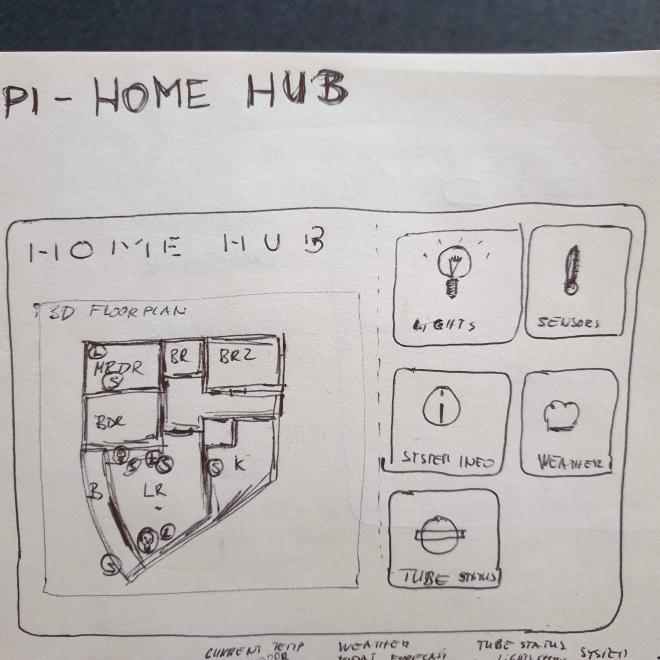
For some reason I got fixated on the idea of being able to click on a room of the floor-plan of my apartment to engage with the controls “by-room”. [More on this].
And there it was, the project to eat up all my free time and consume my left-over brain capacity after a day of work and some considerable amount of pocket money, the idea of Home Hub was born.
Next up in the series:
Hardware:
- Raspberry Pi setup and config
- ESP8266: Connect, configure and make it do something